How to Clean Coffee Grinder With Water
To clean your coffee grinder with water, start by unplugging it for safety. Focus on removable parts like the hopper and top bowl, cleaning them under hot, soapy water using a non-abrasive sponge. Make sure they're completely dry before reassembly. Never use water on the burrs or motor, as it can cause damage and rust. Instead, use a soft brush and microfiber cloth for dry cleaning. Next, we'll investigate alternative, water-free methods to keep your grinder pristine.
Key Takeaways
- Avoid using water directly on the coffee grinder to prevent electrical damage and rust.
- Clean removable parts like the hopper and top bowl with hot, soapy water.
- Ensure all cleaned parts are thoroughly dried before reassembly to prevent moisture damage.
- Use compressed air or a stiff-bristled brush for internal components instead of water.
- Unplug the grinder and remove beans before cleaning to ensure safety.
Importance of Regular Coffee Grinder Maintenance
Maintaining your coffee grinder regularly is essential for several reasons, impacting everything from the performance to the safety of the device. By cleaning your grinder regularly, you guarantee peak performance, preventing uneven grinds and inconsistent coffee. This avoids the buildup of old coffee oils and particles, which can slow down the machine and result in stale flavors. It's important to clean both blade and burr grinders as they can both suffer from rancid oils and residue buildup over time. While daily cleaning isn't necessary for home use, weekly or bi-weekly maintenance is recommended depending on usage frequency. Regular maintenance extends the grinder's lifespan, preventing premature wear and tear. Additionally, it minimizes safety risks and guarantees a hygienic environment by eliminating bacteria and contaminants. Let's investigate these maintenance benefits to keep your coffee grinder at its best.
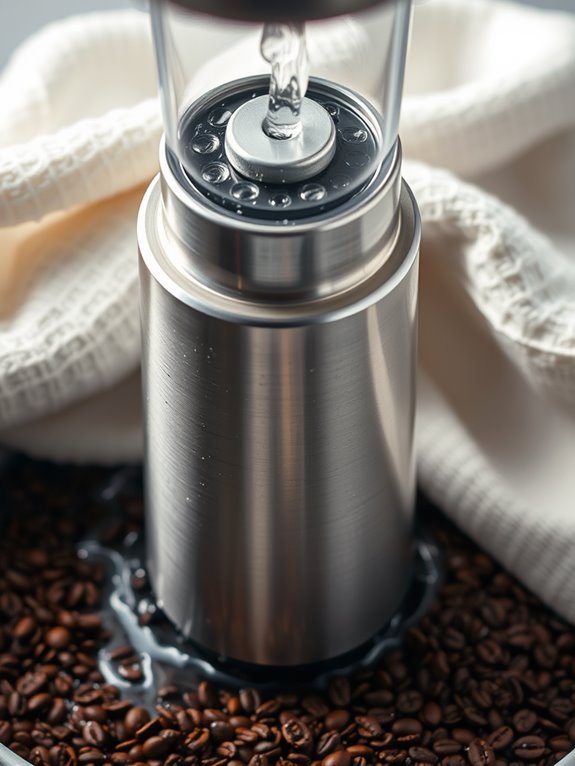
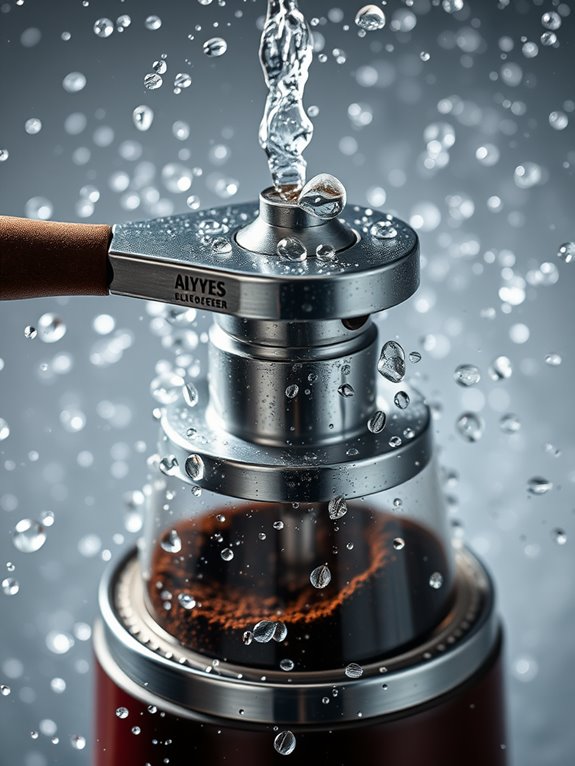
Understanding the Risks of Using Water
While it might seem like a good idea to use water for cleaning, doing so can introduce a host of risks to your coffee grinder.
Water can damage electrical components, leading to short circuits and potential fire hazards. High-carbon steel burrs can rust when exposed to moisture, permanently damaging your grinder.
Wet grounds can create a sticky "coffee mud," clogging the grinder and causing motor burnout. Additionally, using water might void the warranty if water damage is detected.
Motor failure is also a risk, as water exposure increases the motor's workload and buildup over time.
Just as mineral buildup can affect coffee machine performance, moisture in grinders can create similar efficiency problems.
Let's investigate safer alternatives.
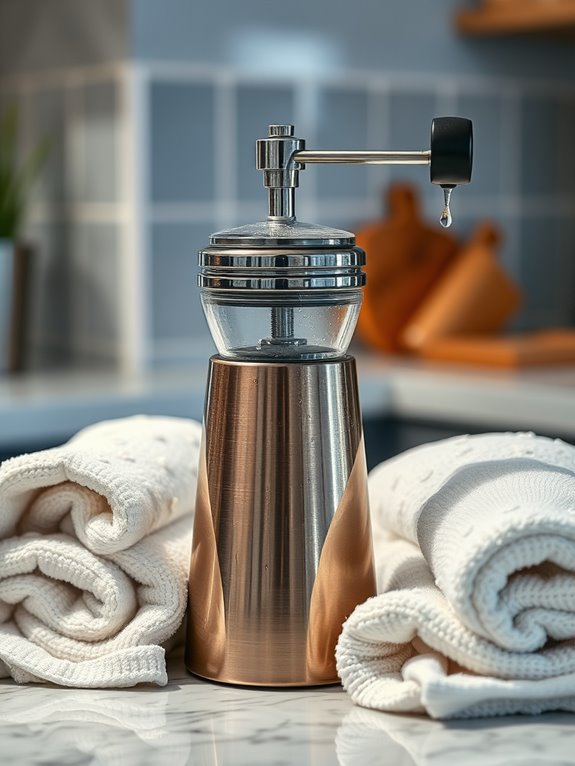
Safely Cleaning Removable Parts With Water
Let's investigate how you can safely clean the removable parts of your coffee grinder using water, ensuring ideal performance and longevity.
Start by using hot, soapy water for parts like the hopper and top bowl. Gently scrub with a non-abrasive sponge, ensuring no soap residue remains by rinsing thoroughly. Use a microfiber towel to dry them, preventing water spots.
Bean containers and grounds bins can also be cleaned this way; just make sure they're completely dry afterward.
Avoid abrasive cleaners that might damage parts. Remember, while water cleans effectively, some parts like burrs should never be washed with water to avoid damage.
Using grinder cleaning tablets can provide a deeper clean for stubborn residue and oils that water alone cannot remove.
Preparing Your Coffee Grinder for Cleaning
Preparing your coffee grinder for cleaning is an essential step in maintaining its performance and extending its lifespan.
First, verify the grinder is unplugged, safeguarding against accidents. Empty the hopper and grinding chamber of all coffee beans and grounds.
Next, gather your cleaning tools: a stiff-bristled brush for burrs, microfiber cloths for wiping surfaces, and a vacuum cleaner with a wand attachment for loose particles.
Remember, avoid using damp materials; moisture can damage the grinder. Compressed air helps clear hard-to-reach areas, while cleaning tablets tackle oil residues.
These steps prevent buildup, extend lifespan, and maintain the delicious taste of your coffee.
Regular inspection helps identify if your grinder has dull burrs that need replacement.
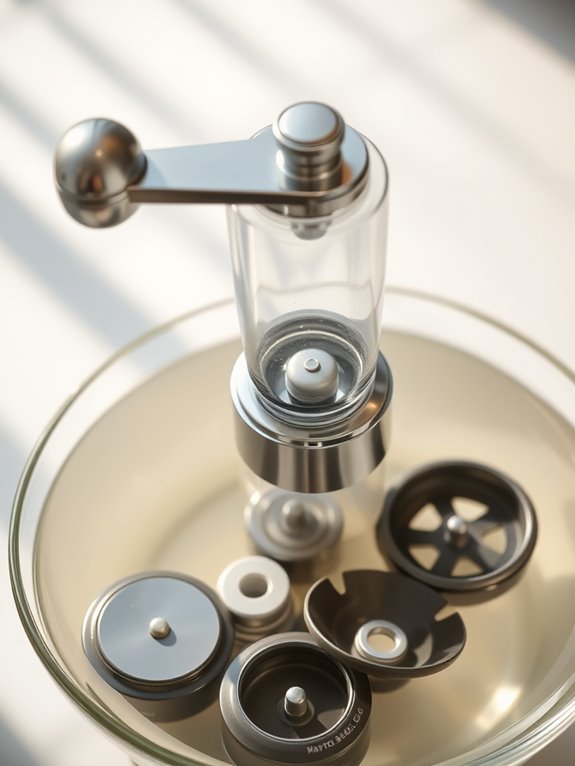
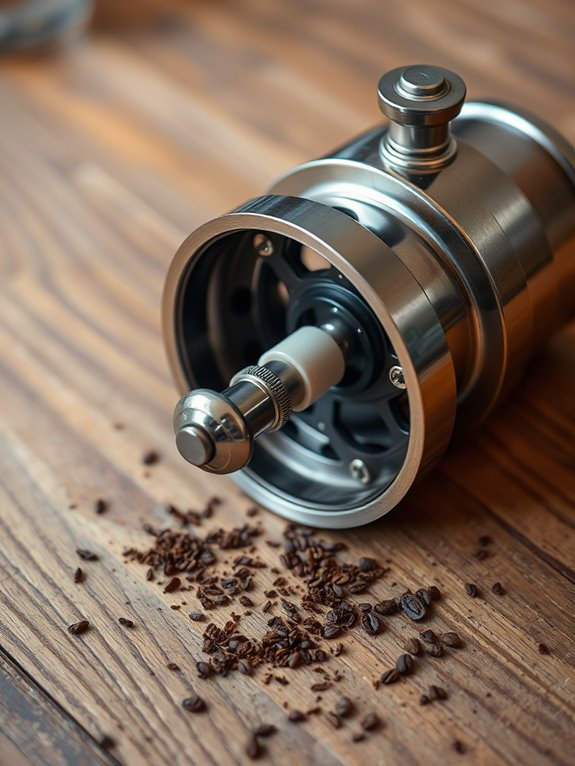
Disassembling the Coffee Grinder
Disassembling your coffee grinder might seem intimidating at first, but with a few clear steps, you'll have it apart in no time.
Begin by removing any leftover coffee beans. Next, disconnect the hopper to access the grinder's internal components.
Identify and unscrew or unclip the burrs, then gently pull apart the burr assembly or grind chamber. Use a soft brush to sweep away loose grounds.
For manual grinders, turn the grind adjuster knob counterclockwise. Electric burr grinders require unplugging first.
Specific models like the Eureka Mignon or MOMENTEM grinders have unique steps, so consult your manual if needed.
Stay careful!
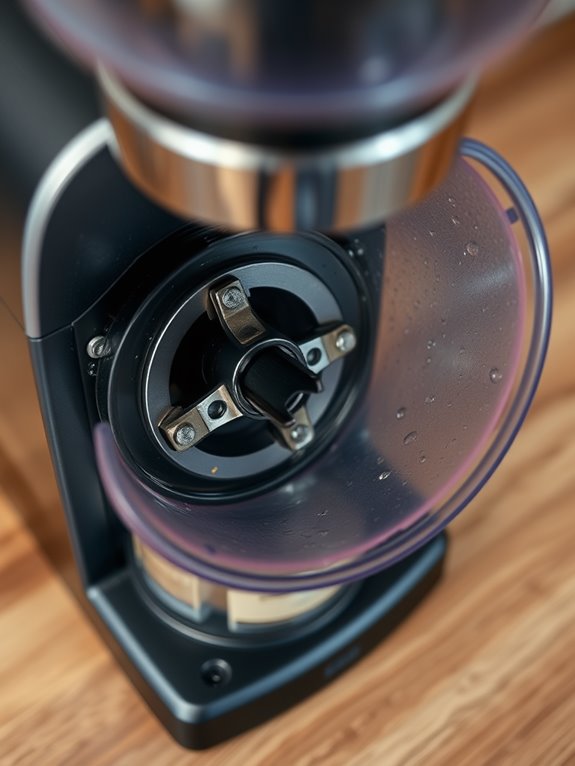
Cleaning the Hopper and Grounds Bin
Cleaning the hopper and grounds bin of your coffee grinder is crucial for maintaining the quality of your coffee.
Start by washing the hopper with warm, soapy water to remove oils and residues. If stubborn oils persist, use a cleaning product like Urnex, or soak the hopper if needed. Avoid abrasive materials; a soft cloth works best. For a shiny finish, apply glass cleaner to a dry cloth.
Now, empty the grounds bin and clean it with a non-abrasive sponge. Rinse thoroughly, and dry both the hopper and bin with a microfiber towel.
Regular cleaning guarantees peak performance and flavor.
Ensuring Thorough Drying to Prevent Damage
When it comes to maintaining the longevity of your coffee grinder, guaranteeing thorough drying is vital to prevent damage.
After cleaning, drying the parts properly is critical to avoid moisture-related issues like rust or electronic damage.
Let's investigate some key techniques:
- Air-Drying: Place burrs and components on a rack to dry overnight.
- Avoid Moisture: Keep all internal parts completely dry.
- No Water Contact: Make sure the electric motor stays dry throughout the process.
- Check for Dryness: Confirm each part is dry before reassembly.
Using Microfiber Cloths for Burr Maintenance
Microfiber cloths are a fantastic tool for keeping your burr grinder in top shape.
Let's investigate how you can use them effectively. Made from durable polyester and polyamide, they're perfect for cleaning without scratching surfaces. Use them to wipe down the grinder's exterior, ensuring it remains free of coffee grounds.
In the grind chamber, gently remove loose grounds with a soft cloth, taking care not to damage parts. For the gasket, a gentle touch prevents wear.
Avoiding Water Contact With Burrs and Motor
Let's investigate the importance of keeping water away from the burrs and motor of your coffee grinder.
Water contact can cause damage, affecting your grinder's performance and lifespan.
Here's what you should do:
- Unplug the Grinder: Always unplug before cleaning to prevent accidents and water ingress.
- Avoid Water on Burrs and Motor: Keep water away to prevent rust or electrical issues.
- Use Dry Cleaning Tools: Opt for stiff brushes or vacuum cleaners for internal parts.
- No Damp Cloths: Avoid using damp cloths; they can introduce unwanted moisture.
Recommendations for Alternative Cleaning Methods
While maintaining your coffee grinder, investigating alternative cleaning methods can be both intriguing and necessary.
Let's examine some safe options. For blade grinders, stale bread is a gentle choice, effectively absorbing oils and moisture without the risk of damage like rice might.
Bread offers a safer approach, although it's less effective than rice. For burr grinders, consider using a dedicated product like Full Circle Grinder Cleaner.
It's made from food-safe materials, ensuring thorough cleaning by removing coffee oils and dust.
Regular maintenance every 4-6 weeks with these methods will keep your grinder in top shape, enhancing your coffee experience.
Reassembling Your Coffee Grinder After Cleaning

After thoroughly cleaning your coffee grinder, it's time to reassemble it, making certain each component is securely in place.
Begin by reattaching the burr assembly. Carefully position the bottom burr, then align and secure the top burr with the gear mechanism. Use the gear to adjust the burr distance for perfect calibration.
Next, follow these steps:
- Replace additional parts: Reinsert washers and bearings.
- Align components: Confirm correct orientation.
- Secure with appropriate tools: Tighten screws with a Phillips head screwdriver.
- Test the grinder: Plug it in to verify functionality.
Handle all parts carefully, making sure everything fits perfectly as originally assembled.