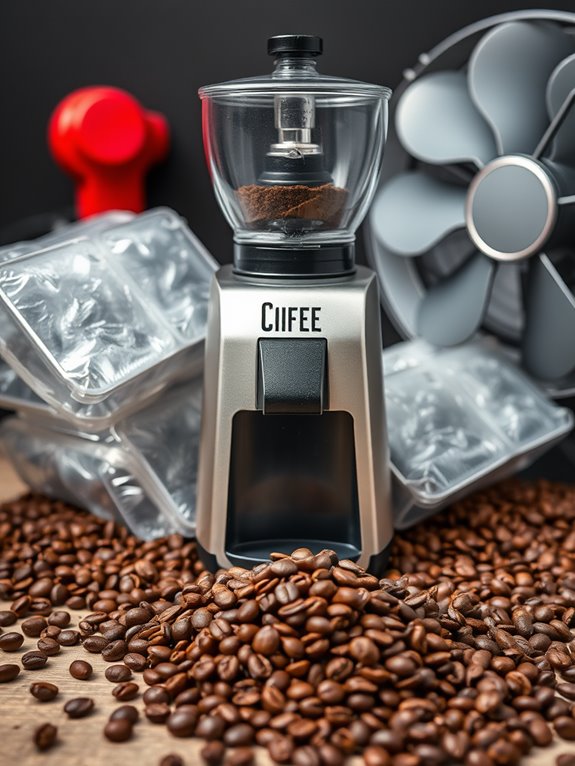
Why Is My Coffee Grinder Not Working
If your coffee grinder’s not working, several issues might be at play. Confirm it’s plugged into a working outlet and check the power switch. Look for clogs in the hopper or chute, particularly if you’re using oily beans, and inspect the motor and burrs for jammed or worn parts. Cleaning regularly is essential for smooth operation. Adjusting grind settings might also help. If issues persist, seeking professional help could be the key to restoring functionality. Curious to uncover more?
Key Takeaways
- Check if the grinder is plugged into a functional outlet and inspect the power cord for any damage.
- Ensure the safety mechanisms are properly engaged and that there are no misaligned parts or taped switches.
- Verify that the hopper is not blocked and consider using lighter roast beans to prevent oily buildup.
- Inspect the motor and burrs for jams, wear, or misalignment that could affect performance.
- Recalibrate the grinder if the grind consistency is off, and consult a technician for persistent issues.
Power Connectivity Issues

Let’s investigate power connectivity issues, as they might be the reason your coffee grinder isn’t working. Start by verifying the grinder is plugged into a working outlet. Check that the outlet’s switch is on, and reset the breaker if it’s tripped. Confirm the outlet isn’t overloaded with other devices. Next, inspect the grinder’s power switch. Make sure it’s on, clean, and undamaged, and check for secondary switches that might be off. Validate the power switch is properly connected. Electrical faults can prevent the grinder from turning on, so it’s important to ensure all connections are secure. Just like with brewing problems, a quick power check is often the simplest solution. Lastly, examine the power cord for damage. Verify it’s securely connected to both the grinder and outlet, and replace it if necessary.
Safety Mechanisms and Pins
Understanding the safety mechanisms in your coffee grinder is vital to ensuring it operates safely and effectively. Safety mechanisms, like switches and interlocks, are designed to prevent accidental start-ups and injuries. Regular inspections are important to spot any malfunctions.
Let’s examine the importance of these features:
- Avoid Injury: Protective guards cover parts of the grinder, shielding you from flying particles.
- Prevent Accidents: Disabling switches can lead to severe injuries, like lost fingers.
- Ensure Compliance: Following safety standards helps avoid legal liabilities.
Always check for misaligned parts or taped switches that can halt operation unexpectedly.
Burr alignment checks are essential maintenance tasks that help prevent safety mechanism failures and ensure optimal grinding performance.
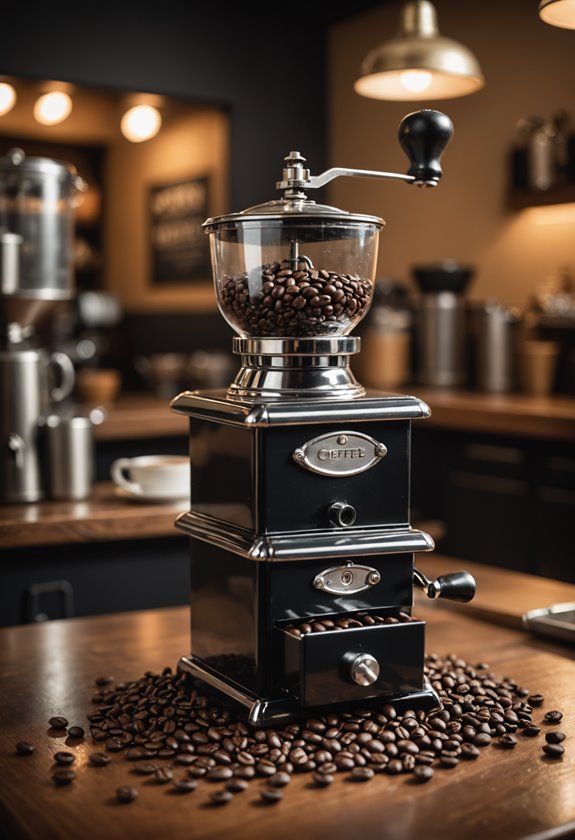
Hopper and Bean Flow

Guaranteeing your coffee grinder runs smoothly involves more than just safety precautions; it’s also about understanding how the hopper and bean flow affect performance.
First, check the beans in the hopper. Are they there? Is the hopper slide open? Using oily beans, especially dark roasts, can cause blockages, so consider lighter roasts for better flow.
Remember, regular cleaning of the hopper prevents buildup. Fresh beans may clump, obstructing flow.
Let’s investigate how bean characteristics matter: oiliness, moisture, and age all impact flow.
Stepped grinder adjustments provide more control over bean flow and grind consistency.
If issues persist, adjust the grind setting or seek professional help to guarantee peak performance.
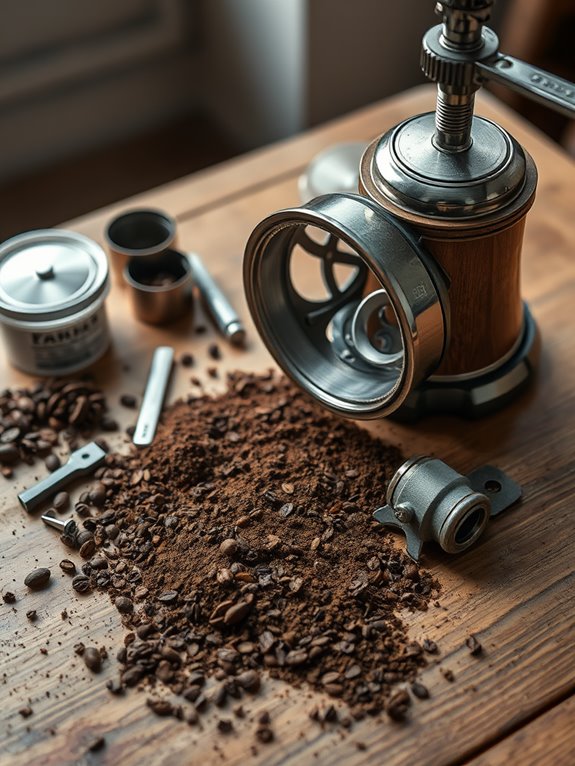
Chute Blockages
When your coffee grinder isn’t working as expected, chute blockages can often be the culprit, disrupting your morning brew routine. Blockages occur due to fine grinds, coffee build-up, or a lack of regular cleaning.
Here’s what you might experience:
- Grinder stops working: The motor halts to prevent damage.
- Grinder jam: Frequent jams, especially in high-volume use.
- Difficulty with grind flow: Coffee doesn’t flow properly.
To clear blockages, brush the chute after each session, use compressed air for stubborn particles, or vacuum out debris.
Prevent blockages by cleaning regularly, using the right cleaning materials, and ensuring single-dose grinding.
Using grinder cleaning tablets or uncooked rice can help absorb oils and prevent stubborn blockages from forming.
Clump Crusher Maintenance
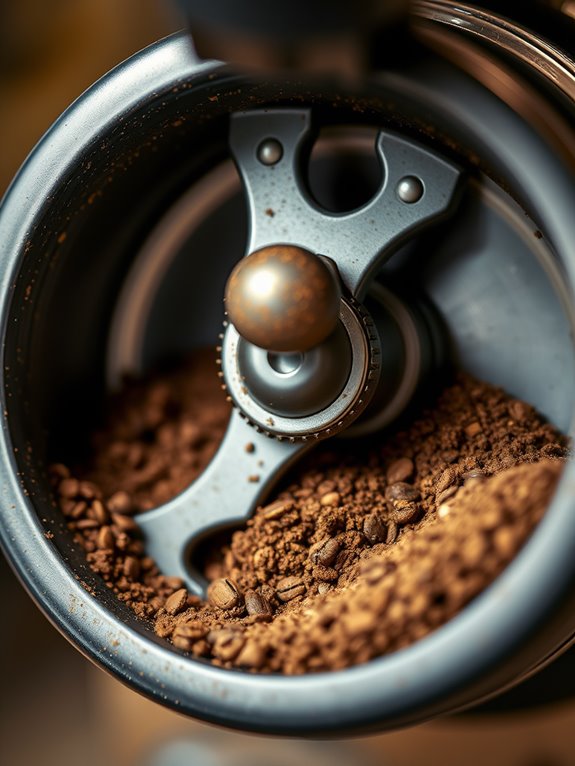
Clogs in your coffee grinder’s chute can be a pesky problem, but the clump crusher is another vital component to keep in check. This toothed anti-static flap prevents coffee from clumping and clogging the chute and burrs.
Found at the exit of the grinding chamber in models like Anfim, its regular maintenance is essential. Let’s investigate how you can keep it in top shape.
Follow the manufacturer’s guidelines to remove and clean the clump crusher, using narrow brushes to clear blockages. Regular cleaning prevents excessive buildup, ensuring smooth operation.
Neglecting this can lead to blockages and frequent wear.
Grind Setting Adjustments
Getting your coffee just right often starts with adjusting the grind settings on your grinder, and understanding this process is key to brewing a perfect cup.
Begin by tightening the burrs fully, then adjust counterclockwise to achieve the desired grind size. Remember, different brewing methods require varying grind sizes.
- Espresso demands a fine grind, so tighten the burrs clockwise.
- For French press or cold brew, loosen them for a coarser texture.
- Small adjustments make a big difference; try 3-millimeter increments.
Don’t forget to purge a couple of shots after changing settings to guarantee you taste the new grind.
Motor and Burr Inspections
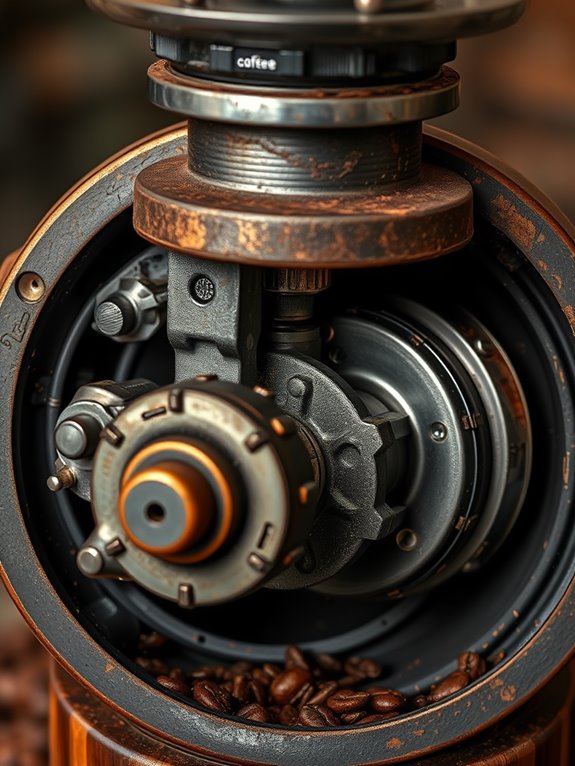
Understanding why your coffee grinder isn’t working often starts with a thorough inspection of the motor and burrs, as these components are essential for its operation.
Motor Inspection
Let’s investigate potential motor issues. Check the power supply board; it might be blown, stopping the motor despite the display lighting up.
Verify capacitors are functional, as faulty ones hinder power delivery. Look for electrical faults causing short circuits. If needed, consult a qualified electrician.
Don’t forget to check the resettable breaker near the power switch.
Burr Inspection
Inspect the burrs for jams and wear. Remove blockages from the chute and replace blunt burrs to maintain grinding efficiency.
Daily and Regular Cleaning
Even though it might seem tedious, regular cleaning of your coffee grinder is essential for maintaining its performance and prolonging its life.
Let’s examine daily tasks like dusting parts with a microfiber cloth, removing large debris from the chute, and brushing loose grounds from burrs. These steps help prevent clogs and maintain efficiency.
For deep cleaning every 3 to 6 months, disassemble the grinder to remove stubborn oils with cleaning tablets, inspect for wear, and vacuum the burrs.
Remember these key actions:
- Avoid costly repairs, ensuring your grinder lasts.
- Enhance coffee flavor, keeping it fresh.
- Maintain peak performance, grind after grind.
Overheating Prevention
Maintaining your coffee grinder’s cleanliness is crucial, but it’s equally important to address another common issue: overheating.
To prevent overheating, avoid extended use and grind in batches, allowing your machine to cool. Overloading the hopper increases strain on the motor, so use smaller quantities.
Guarantee proper ventilation, especially in warm environments, to let heat escape. Regular maintenance, like cleaning worn burrs, keeps the grinder efficient.
Investing in quality grinders with built-in cooling systems can also help. Remember, overheating affects coffee flavor and consistency, so take these steps to make certain your grinder performs at its best and your coffee tastes great.
Professional Troubleshooting Steps
When your coffee grinder isn’t working as it should, pinpointing the problem can seem challenging at first. To tackle the issue, consider professional troubleshooting.
First, verify there are no power issues:
- Check the power source and confirm all switches are on.
- Inspect for tripped circuit breakers.
For clogs and blockages, clean the hopper and chute, confirming no foreign objects obstruct flow.
Additionally, check the mechanical components:
- Examine the motor and burrs for wear.
- Verify the grinder is calibrated correctly.
If problems persist, consulting a technician for a thorough diagnostic might be necessary.