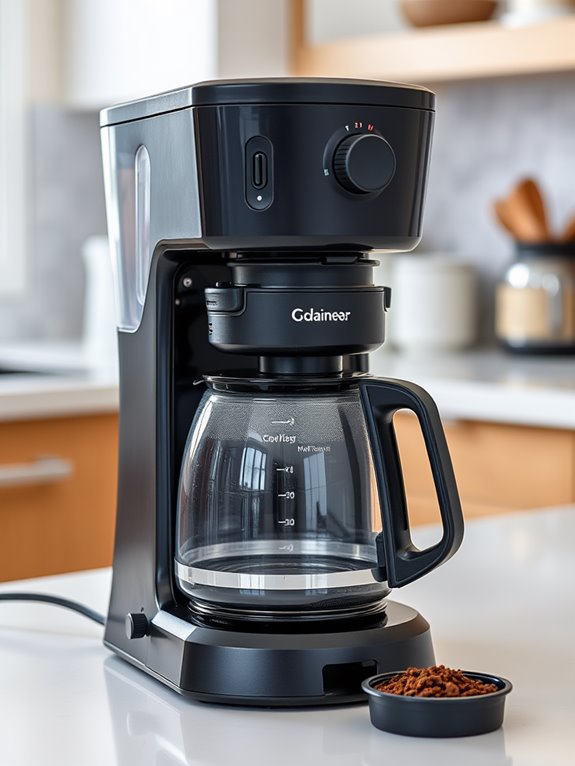
How to Fix a Coffee Maker That Won’t Brew
Having trouble with your coffee maker not brewing? First, verify it's plugged in and you're using fresh water. Double-check settings like the grind size and brewing temperature. If there's a blockage, clean the water lines and descale to remove mineral buildup. Inspect the heating element and valves for faults. Consistent maintenance—like regular cleaning and descaling—keeps your machine running strong. Solving these common issues can bring back your perfect brew! Let's investigate more solutions for brewing success.
Key Takeaways
- Ensure the coffee maker is plugged in and receiving power to start troubleshooting.
- Check the water reservoir for sufficient water and ensure it's properly seated.
- Clean and descale the machine to remove any blockages or mineral buildup.
- Inspect and replace faulty components like the heating element or one-way valve.
- Regularly maintain the coffee maker to prevent future brewing issues.
Identifying the Problem
When your coffee maker isn't working as expected, identifying the problem is the essential first step. First, verify it's plugged in and receiving power. Check the water reservoir for enough water. Review settings like grind size and brewing temperature—small details make a big difference. Inspect coffee beans for freshness; stale beans can ruin the brew. Systematically test components: look for blockages, mineral buildup, or loose connections. Regularly cleaning removable parts can remove residue that affects performance. Pump issues can often be diagnosed by listening for proper water flow. Listen for unusual sounds or check for error messages. If issues persist, consider if professional assistance is needed. Sometimes complex problems require expert help to avoid further damage. Let's investigate these steps thoughtfully.
Common Causes of Brewing Issues
Having pinpointed the issue with your coffee maker, it's time to investigate the common causes of brewing problems.
Let's examine the main culprits:
1. Clogs and Blockages: Mineral buildup, debris, or misaligned filters can obstruct water flow.
Check for scale deposits and verify filters are aligned correctly.
2. Heating and Valve Failures: A faulty heating element or blocked valves might hinder water circulation and temperature.
Confirm the heating element and valves function properly.
3. Maintenance Oversights: Regular descaling and cleaning are essential.
Neglecting maintenance can lead to residue accumulation, affecting performance.
Keep your machine clean to prevent issues.
If you notice bitter coffee taste or slower brewing times, these are clear indicators that descaling is needed.
Troubleshooting Steps to Follow
Let's investigate the steps you can take to troubleshoot your coffee maker effectively.
Begin with initial checks: verify it's plugged in and receiving power, confirm the water reservoir is filled, and check settings are correct. Look for loose or damaged parts, and try a power cycle.
Next, engage in systematic troubleshooting. Identify specific issues or error messages, consult the user manual, and test individual components using a multimeter.
Check for blockages or mineral buildup in water lines.
Finally, conduct component inspections. Examine the ball valve, thermal fuses, hoses, and connections.
Clean or replace faulty parts, then test the coffee maker's functionality.
For optimal coffee extraction, ensure your machine reaches proper brewing temperature between 195-205°F.
Specific Fixes for Common Problems
If your coffee maker isn't brewing, don't worry—you can often fix it yourself with a bit of guidance.
Let's examine specific issues you might encounter:
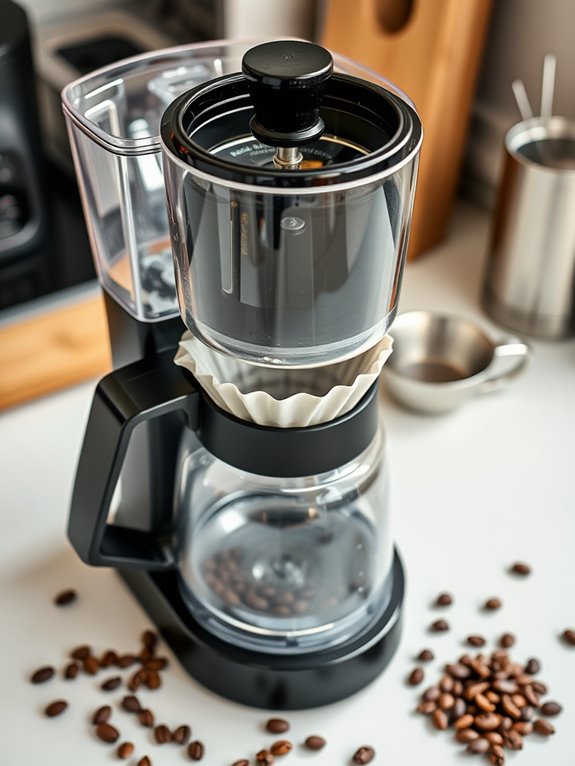
1. Clogged Water Line: Examine the water reservoir for blockages.
Descale with a solution if hard water is the culprit, and use a wire to clear debris.
Run a water-only cycle to verify it's fixed.
2. Heating Element Issues: Check the thermostat with a multimeter.
Replace it if needed, and inspect thermal fuses for any failures.
3. One-Way Valve Blockage: Disassemble to access the valve, clean it thoroughly, confirming it's seated correctly before reassembling your machine.
Regular inspection of worn-out seals can prevent water leakage and brewing problems.
Preventive Measures to Maintain Your Coffee Maker
Maintaining your coffee maker is just as important as fixing it when things go wrong. Daily chores like cleaning after each use prevent buildup; backflush the espresso group heads and wipe your machine.
Inspect brew pots daily and empty grounds bins to keep everything fresh.
Weekly, deep clean filter baskets and group handles by soaking them in detergent. Don't forget to clean the grinder hoppers and check water filters.
Every six months, replace worn gaskets and descale to avoid mineral buildup. Regularly inspect for leaks and wear.
Through these preventive measures, your coffee maker stays in top condition.
When to Seek Professional Help
When it comes to fixing your coffee maker, knowing when to seek professional help can save you time and prevent further damage.
Let's investigate when it's best to call in the experts.
1. Complex Issues: If your machine won't turn on despite power, it likely has internal electrical faults.
Persistent leaks or inconsistent water flow often need specialized tools.
2. Safety Concerns: Electrical hazards or risks of water damage demand immediate professional attention.
3. Failed DIY Fixes: If troubleshooting hasn't resolved the problem, it's time for expert intervention.
Choose services specializing in your machine's brand, check reviews, and verify they offer repair warranties for peace of mind.
Understanding Your Coffee Maker's Error Codes
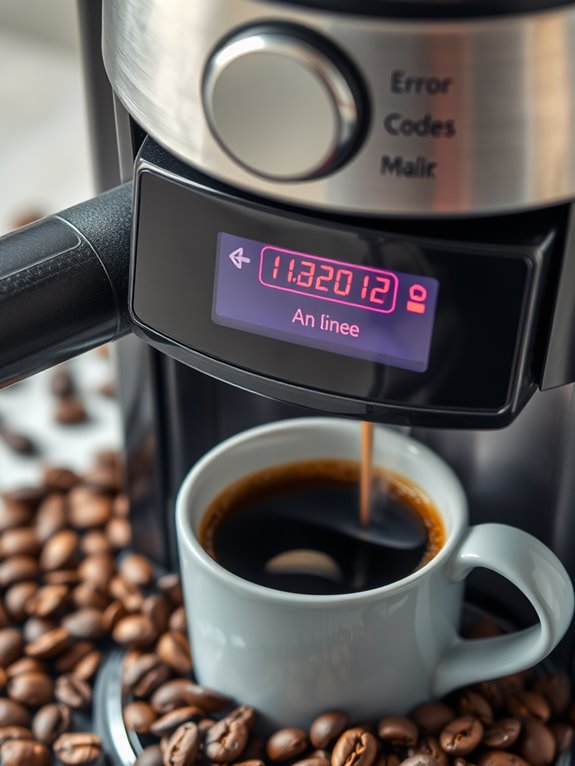
Your coffee maker's error codes serve as a diagnostic tool, guiding you to troubleshoot and fix common issues efficiently.
Let's investigate what these codes mean.
For brew group issues, Error Code 01 signals a blocked coffee funnel. Turn off the machine, remove the brew group, and clear clogs using a tablespoon handle.
If you encounter Error Code 03, rinse and lubricate the brew group.
Water and heating issues may surface with Error Code 05, indicating water tank or tube problems—check for blockages.
Should you see Err1, it often involves jammed buttons; unplug and press each button.
Always consult your manual for specifics.
Tips for Regular Maintenance and Care
Even though making certain your coffee maker stays in top shape might seem intimidating, regular maintenance is actually quite straightforward and immensely rewarding.
Let's investigate some essential tips:
- Daily Care: Wash removable parts using dish soap, wipe down surfaces to avoid stains, and dry components thoroughly to prevent bacteria.
- Weekly Routine: Deep clean parts by soaking them in hot water and detergent, check the water filter, and clean grinder hoppers.
- Monthly Tasks: Descale using vinegar to eliminate mineral buildup, rinse thoroughly, and replace the charcoal filter if applicable.
Keeping up with these tasks guarantees your coffee maker brews perfectly every time.