Coffee Maker Doesn’t Get Hot Enough
If your coffee maker isn't getting hot enough, start by checking the power cord for damage and verify connections are secure. Use a multimeter to test the heating element; it should show 0-50Ω for continuity. Look for mineral buildup blocking water flow, and clear pathways with pins or run hot water. Regularly clean your coffee maker using vinegar. These steps often restore proper function, and there's much more to investigate for a deeper solution.
Key Takeaways
- Check the heating element's voltage and continuity; it should read between 0-50Ω for proper function.
- Inspect the thermostat for continuity at room temperature; a healthy thermostat reads 0-1Ω.
- Remove mineral buildup from heating components regularly to prevent performance issues.
- Ensure power cord and connections are secure and undamaged for efficient operation.
- Descale the coffee maker every 1-3 months using a water and vinegar solution.
Checking Power and Shut-Off Features
How can you guarantee your coffee maker's power supply is functioning properly? Start by examining the power cord for any visible damage or wear. A faulty cord can disrupt power flow, so you should test it with a multimeter and replace it if necessary. Make certain it's securely connected to both your coffee maker and the outlet. Next, check your home's circuit breaker. It might need resetting if it's tripped. Also, confirm the circuit isn't overloaded with other appliances. Finally, inspect the relay, components, and thermal fuse for damage, using a multimeter to test continuity and replace if needed. If the relay is removed, the device may power on, but the pump will not work, indicating an issue with the relay circuit.
Inspecting the Heating Mechanism
When your coffee maker isn't heating properly, it's time to investigate the heating mechanism thoroughly.
Begin by identifying heater element problems. Check if voltage reaches the heater element; use a multimeter set to Ohms for continuity. A healthy element should read between 0-50Ω.
Next, diagnose faulty components like the thermostat or thermal cut-off. Test thermostat continuity at room temperature, aiming for 0-1Ω, and inspect the inline fuse. If blown, the thermostat might be faulty.
Use a multimeter for voltage and continuity testing, ensuring all wires are intact, and connections are secure.
Regular mineral buildup removal helps prevent heating element failures in coffee makers.
Let's examine these steps, ensuring your coffee maker's best performance.
Addressing Water Flow and Blockages

Addressing water flow and blockages in your coffee maker is essential for ensuring it operates smoothly and efficiently.
Let's investigate some common causes and solutions. Clogged water pathways, often due to mineral buildup or coffee grounds, can severely restrict flow. Malfunctioning flowmeters might also hinder water dispensation.
Use thin pins to clear clogged holes, and run hot water cycles to clear blockages. Descale solenoid valves and inspect water reservoirs and tubes for any blockages.
Adjusting coffee grind size can prevent flow restrictions. Regular maintenance, like cleaning flowmeters and ensuring equipment functionality, helps preserve your coffee maker's performance and water flow. Similar to coffee grinders, rancid oil buildup can affect the taste and performance of your coffee maker if not cleaned regularly.
Regular Maintenance and Cleaning Tips
To keep your coffee maker in top condition, regular maintenance and cleaning are essential, ensuring every cup is as delicious as the last.
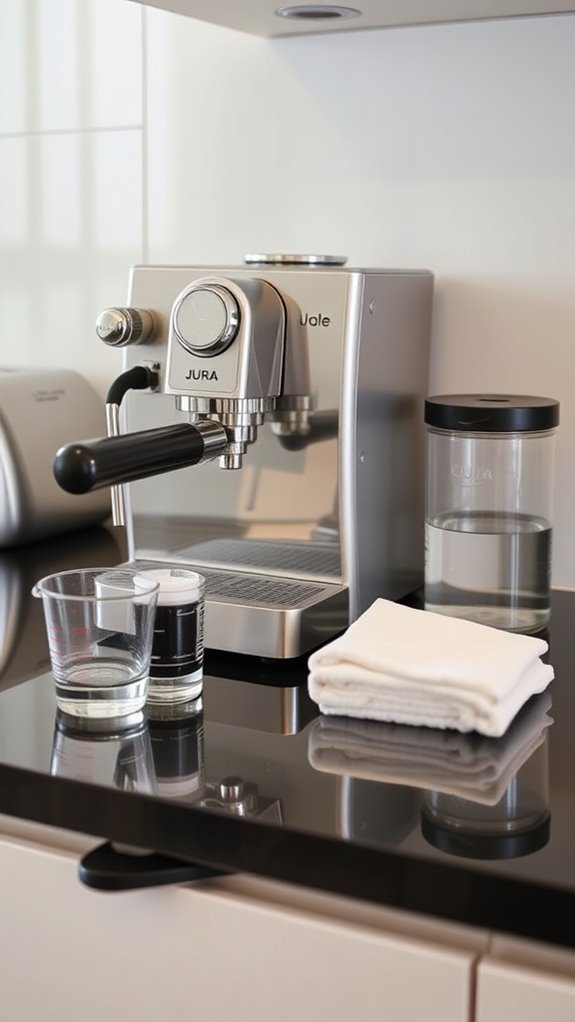
Let's investigate daily tasks: wipe the exterior with a damp cloth, focusing on the control panel and warming plate. Hand-wash removable parts like the pot and lid in warm, soapy water, then rinse thoroughly.
For a deeper clean, use a solution of equal parts water and white vinegar. Run multiple cycles to flush it out.
Descale every 1-3 months using the same solution, and always consult your user guide for model-specific instructions. Keep compartments open to dry.
This natural descaling solution helps eliminate bacteria while removing mineral buildup that can affect performance.
Utilizing Diagnostic Tools Effectively
Ever wondered how to troubleshoot your coffee maker like a pro? Let's investigate the use of diagnostic tools effectively.
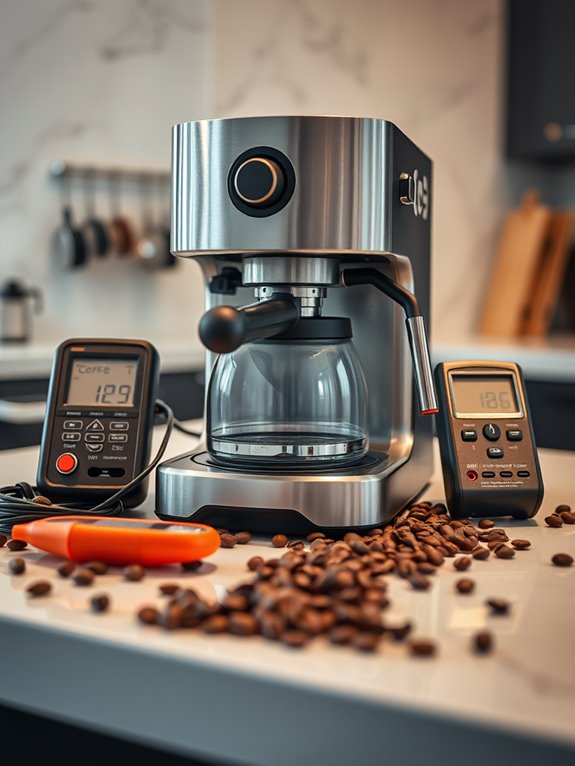
First, grab a multimeter, your essential tool for diagnosing electrical issues. Check the voltage by testing the "L1" and "N" wires to confirm proper power supply. Next, measure resistance for continuity in heating elements.
- Inspect wiring for visible damage.
- Test temperature sensors by simulating readings.
- Analyze the control board using your multimeter.
- Refer to error codes for guidance.
Ensuring Safety During Repairs
When you're diving into coffee maker repairs, safety should always be your top priority.
First, disconnect power by unplugging the appliance or shutting off the circuit breaker to prevent shocks.
Wear safety goggles and insulated gloves to protect yourself from cuts and electrical hazards.
Verify your workspace is well-lit, clean, and organized to avoid tripping.
Always use insulated tools and wear rubber-soled shoes.
Don't ignore unusual noises or smells, and if you're unsure, seek professional help.
Rushing can lead to mistakes, so take your time.
Let's investigate repairs safely, confirming each step is methodical and follows manufacturer guidelines.
Regular descaling and cleaning helps prevent dangerous mineral buildup that can cause electrical issues.